When do YOU Drive or Not Drive Holes in Machine Design?
When designing a fixture it is very helpful to drive the hole in part B by using the axis of a hole in part A that is fastened to part B. And when is “Un-driving” that hole a good idea?
When should holes be “un-driven”?
There are two times that I can think of right off the bat where a driven hole should be un-driven. I mean “un-driven” so that the hole in Part B is no longer dependent on Part A.
1) The machine is already built and you are making revisions.
2) The customer requests that holes be independent of any other parts in the assembly.
Revisions
In revisions to a machine that is already built, it is important that the CAD Drafter keep the existing holes in the same locations. This reflects reality and if there are future revisions to the machine, the designer knows where the existing holes are.
Sometimes it turns out that those existing holes can be used in the new revision, saving machining time and costs. But certainly the designer needs to know where existing holes are so that they don’t design in a hole that overlaps an existing hole.
When making a revision to an existing machine, if I am going to delete Part A (the driving part), I “hard-code” or “un-drive” the hole in part B first. In this video I show how I drive and un-drive holes in Wildfire 4.0.
Please keep in mind that Rentapen has customized the process of making holes in Pro/E. This means that your screen and hole making steps may be different than what you see in this video.
Per Customer Request
Besides revisions, some Customers can often request that holes not be driven. They might have had a bad experience in the past or with a different program. In really large machine designs, the large number of driven holes can slow the CAD program down.
I feel it is a risk to not drive the holes. If the holes are not driven and a CAD Designer makes a change to a CAD design, for example: The Designer moves Part B but forgets to move the holes in the Part A. The result is a costly and time-consuming mistake. We all know that humans are not perfect and even we CAD Drafters and Designers make mistakes sometimes. Even if the CAD Designer remembers to move the corresponding mounting holes in Part A, if there is a typing mistake, the holes won’t match up.
Though we can hope that the person checking the changes would catch the error, it is better to make sure the mistake doesn’t happen in the first place.
Single Fastener Parts, do you drive the hole or insert the part?
Some of our customers prefer that a flat foot or anything with a single fastener not drive the hole in the part it is mounted to. Instead they prefer that the part be located by a hard-coded hole. They find it easier if a change needs to be made, to change the dimensions locating the hole than it is changing how the part is defined in the assembly.
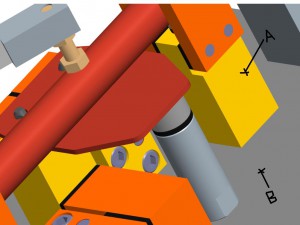
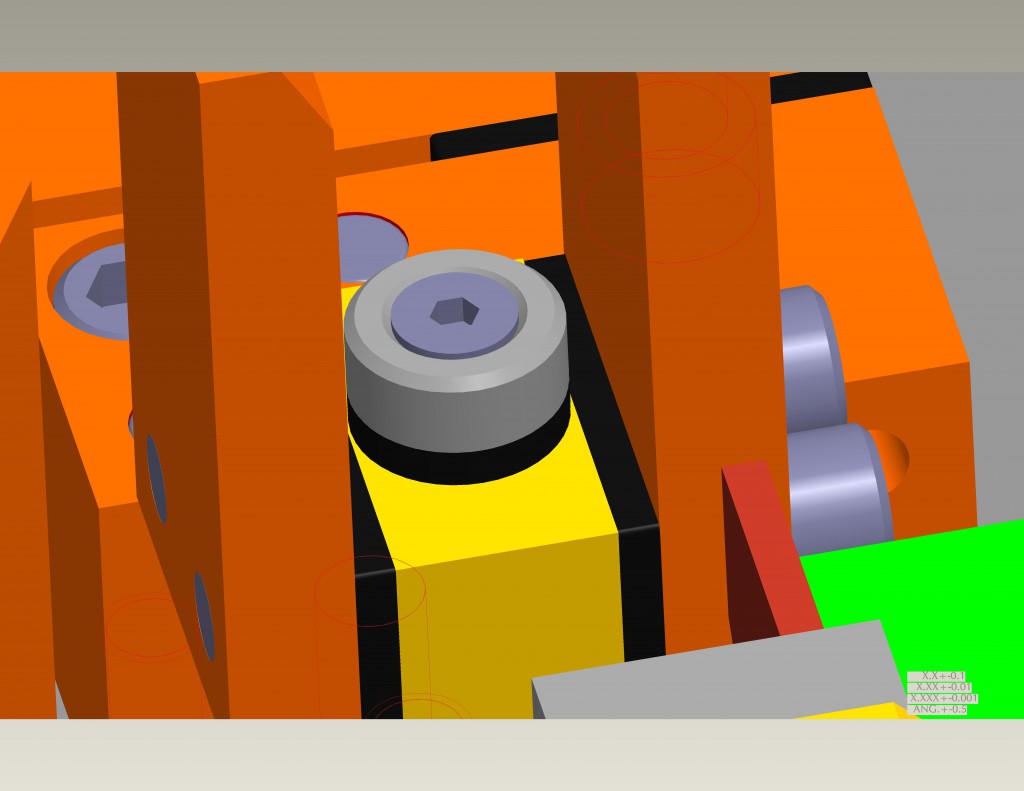
For example, should this Jergens Flat Foot be located by the hole in the gold block? Or should the Flat Foot be located in the assembly and the mounting hole be “driven” into the gold block?
Since I am a proponent of beginning with the parts that touch the product when designing, I would put the flat foot in first, complete my design, and drive the hole in the gold RAPid Block. Then, if I am working for a customer that prefers the flat foot be located by the hole, I would un-drive the hole, re-order the parts in the model tree, and re-define the flat foot according to the customer’s desires.
So tell me, does your company have a standard on whether to drive a hole from a single fastener part? If so, what is the standard? Do you know the reasoning behind the standard? I would appreciate learning what you think and what your company likes.
‘Til next time!
Susan Straley Queen of Lean Machine DesignRemember! Sign up for Education and Updates on the Rentapen website in April 2012 and receive a free Dowel Hole Guide for your desk top!


