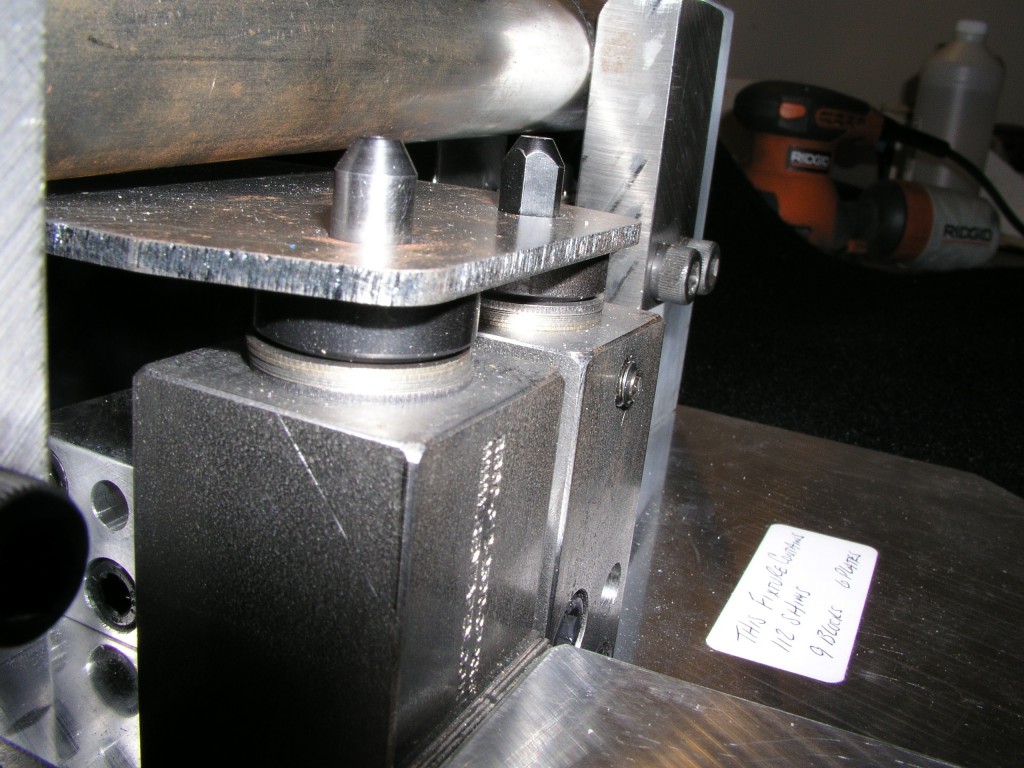
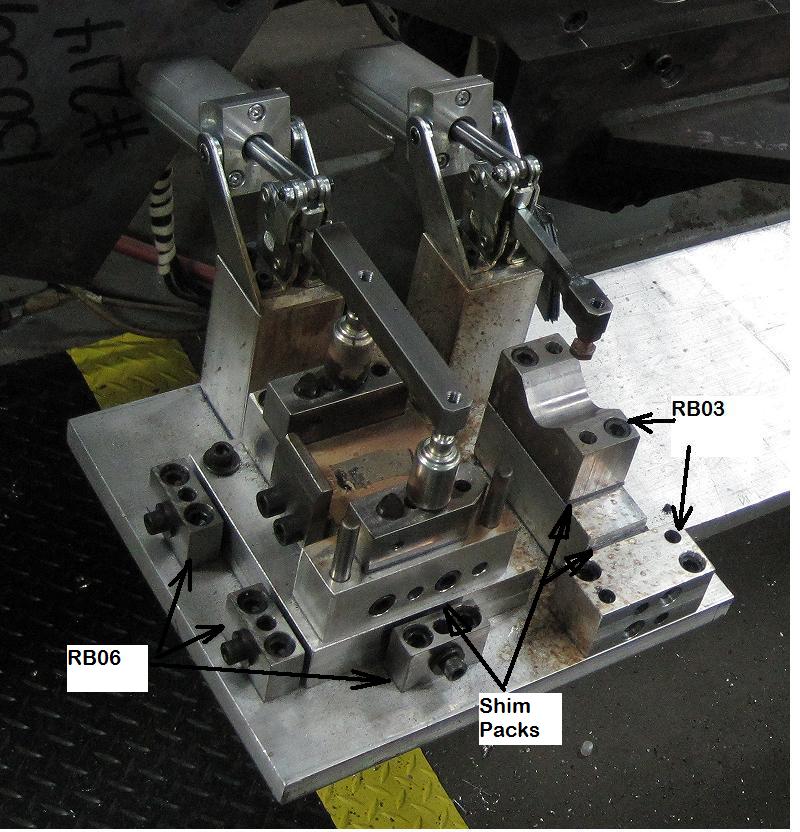
Metal shim, steel shims, adjustment shims and shim packs, whatever you call them, they are critical to the success of some weld fixtures.
What do YOU do to make sure the product fits within tolerance after the individual parts of the product are welded together?
In some welding applications, precision is not really needed. For example welding the leg on a table. In other applications, the placement of one product part relative to another product part is key to the performance or assembly of the total product.
There are two key reasons that I can think of for using shims in a weld fixture.
1) The welding process causes heating up of the parts. The product that is being welded together can shrink or move slightly due to the heat. The amount of change that will occur in a fixture is difficult if not impossible to calculate. An example of some of the items that would need to be considered in such a calculation would be: –the fixture itself acts as a heat sink; –the distance of the weld gun to the joint; and –the materials in the product and the fixture.
2) Tolerance stack ups. Even though you may be able to hold tight tolerance within one part, in a weld fixture you might have a base plate with a block mounted to that, with a pin mounted to that. Each new part and each new feature on a part has it’s own small tolerance. It could be as small as +/-.001 but you add that up a few times in the same direction and pretty soon your pin is .006 off from where it should be in the fixture.
In the past, depending on our customer and the amount of precision needed, we have designed metal adjustment shims into our weld fixtures.
This is how it works:
1) design in adjustment shims packs;
2) weld the product parts together in the fixture to test it;
3) Check the welded product to see if it meets specifications;
4) If it is off a bit, remove or add shims as needed to move the product inside the fixture to correct the problem.
5) Repeat 2-4 until the product is perfect. Then the fixture is ready to put into full production.
If you haven’t already signed up for News and Updates from Rentapen, please do so with the form in the right column. Then you will be notified each time a new Weld Fixture Design 101 blog is published.
Also, please share this with a manufacturing engineer or machine builder that you know. We always can learn from the welders, assemblers, machinists and managers who work with our designs every day.
Susan Straley
Queen of Lean Machine Design
PS
Do you know someone with some singing talent? Video tape them singing our Shim King song and we will post it on our shim page and tweet it!


